Blazor Admin Dashboard
Elegantly Simple WebAssembly Blazor Admin Dashboard
This is an Admin Dashboard for Blazor that is #elegantlysimple with the following key design principles:
- Simple as in Less is More
The dashboard aims to be good enough for most people who requires a dashboard, and is simple and easy to use. - Vanilla and Minimal Dependencies
The dashboard is developed with minimal dependencies to external libraries or frameworks. Wherever possible, it utilizes the underlying programming language in a plain vanilla manner. - Adaptable
The dashboard being simple, vanilla and with minimal dependencies makes it adaptable. Whenever the platform or framework changes, it is easy to adapt the dashboard to keep it current and up to date. - Elegant as in easy to understand and change
The source code is structured to be easy to understand, compile, change, extend or port.
Source Code
- GitHub - Blazor Admin Dashboard
- X - This is the template generated by the "dotnet new blazorwasm" command. As we still need to repeatedly upgrade the dashboard to the latest version of Blazor, X is the easiest for us to do so. It helps us find out the changes required by the default template.
- Y - The default template contains lots of starting code that is already useful for starting a front end project. Y focuses on changes in index.razor, specifically the content of our dashboard.
Some of our project members argued that this may be all we need in the future because it enables us to adapt to the changes introduces by Blazor.
If Microsoft provides a very complete shell, we will just need to bring our our index.razor code over.
- Z -This contains more changes to MainLayout.razor and NavMenu.razor to create a reponsive fly in side bar. The design is to keep it #elegantlysimple so that we can easily adapt to changes.
How to run the admin dashboard?
1. Clone the Blazor Admin Dashboard.
git clone https://github.com/Misfits-Rebels-Outcasts/Blazor-Dashboard.git
2. Clone the Blazor Charts Library.
git clone https://github.com/Misfits-Rebels-Outcasts/Blazor-Charts.git
3. Go to the Blazord-Dashboard/Blazord-Dashboard folder. With the dotnet CLI, run the following command:
dotnet run
4. Launch your browser and access http://localhost:5000/dashboardZ.
The XYZ of using the Blazor Admin Dashboard
The repository contains a project with 3 sets of files, namely X, Y and Z. The files are described below:
How to use the X, Y or Z files?
        App.razor
        AppX.razor
        AppY.razor
        AppZ.razor

        index.html
        indexX.html
        indexY.html
        indexZ.html

        sitex.css
        sitey.css
        sitez.css

        MainLayoutX.razor
        MainLayoutY.razor
        MainLayoutZ.razor

        NavMenuX.razor
        NavMenuY.razor
        NavMenuZ.razor

        IndexX.razor
        IndexY.razor
        IndexZ.razor
To use X :
Copy AppX.razor to App.razor.
Copy indexX.html to index.html.
dotnet run
http://localhost:5000/dashboardX
To use Y :
Copy AppY.razor to App.razor.
Copy indexY.html to index.html.
dotnet run
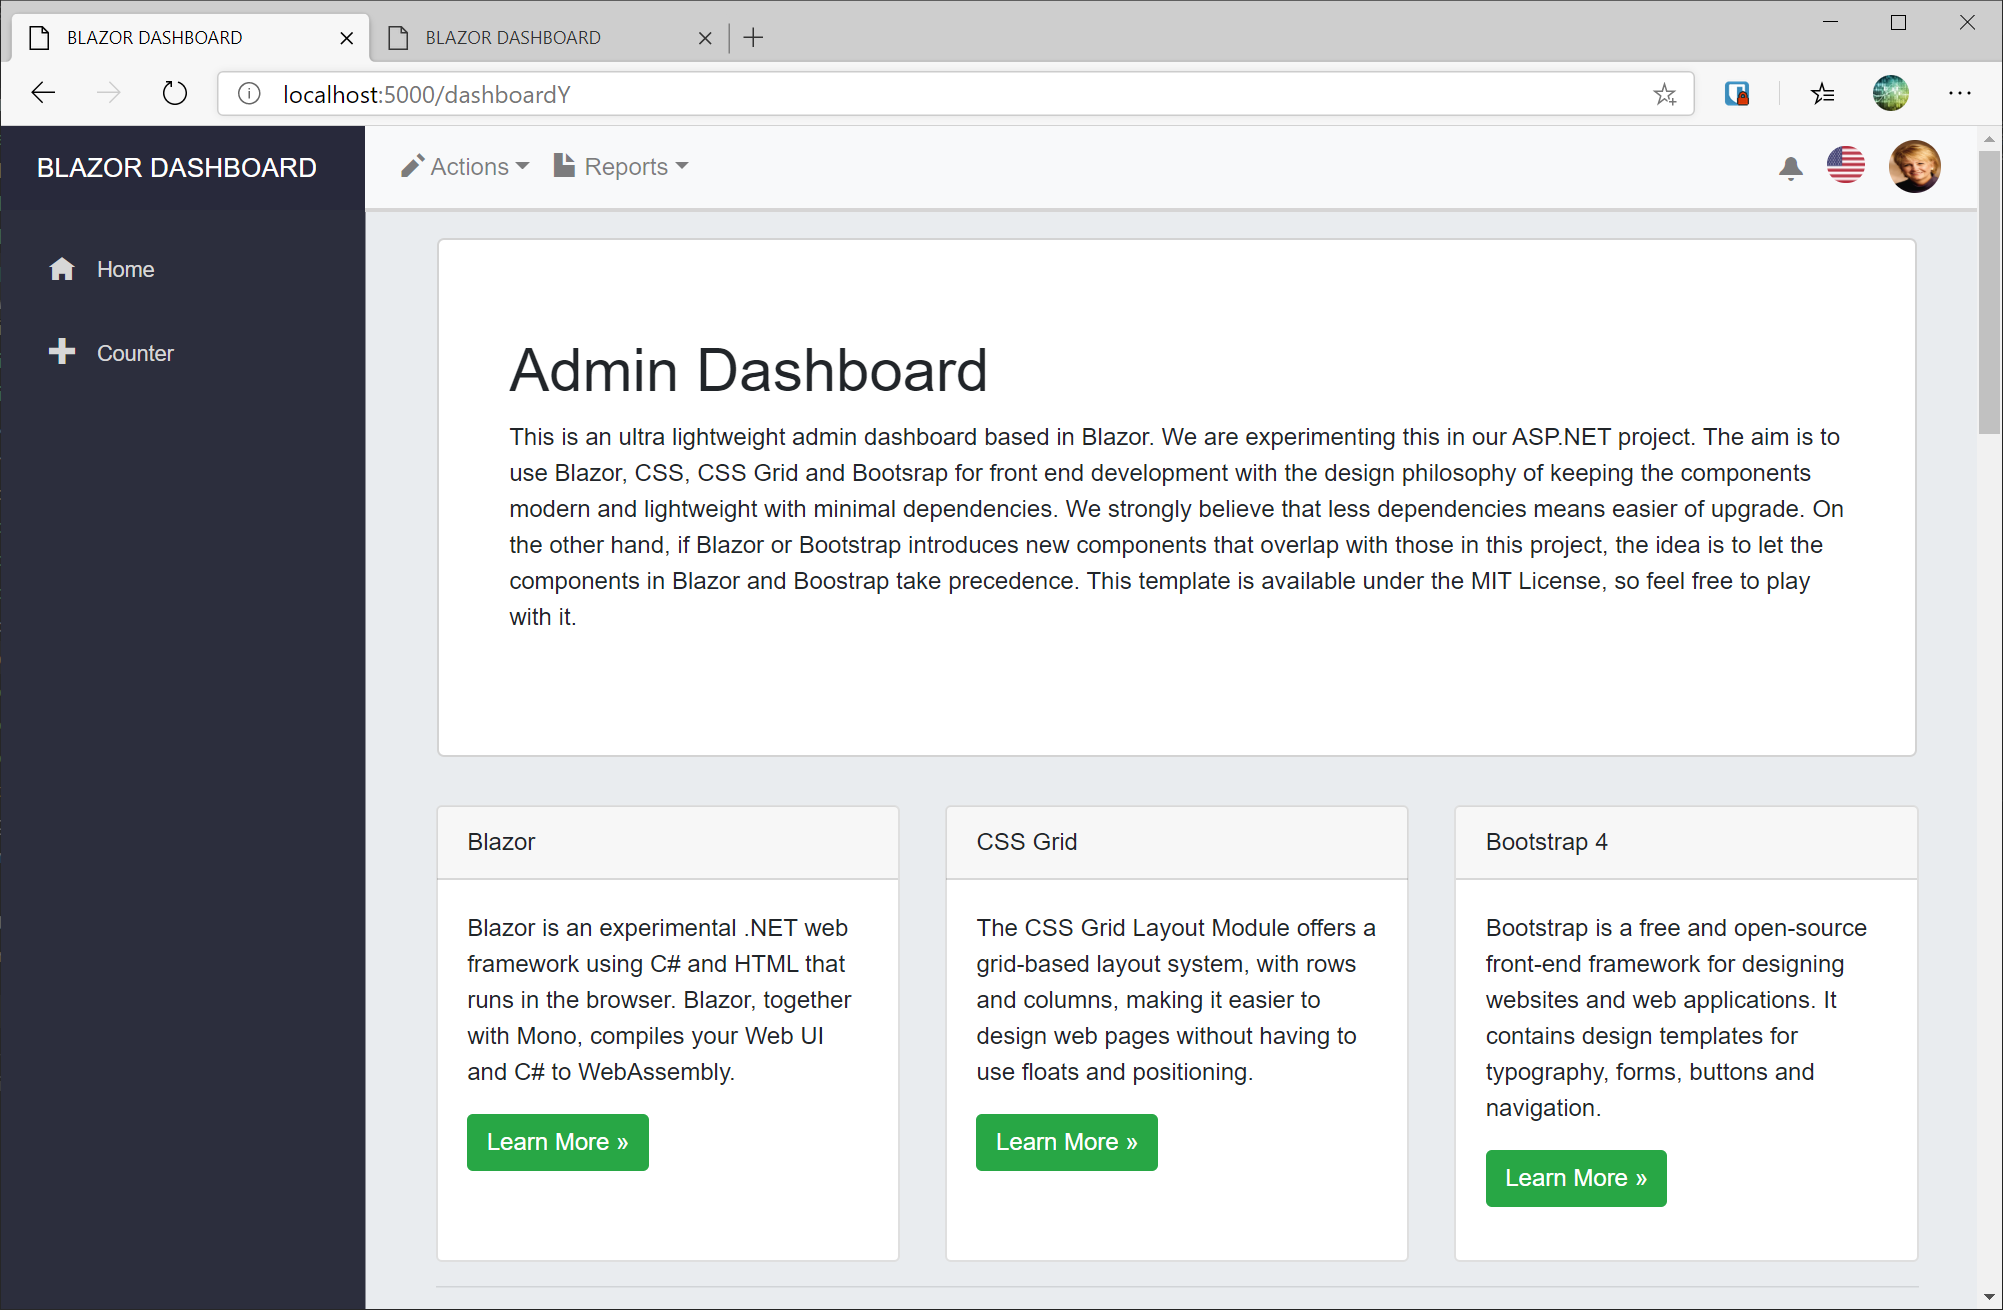
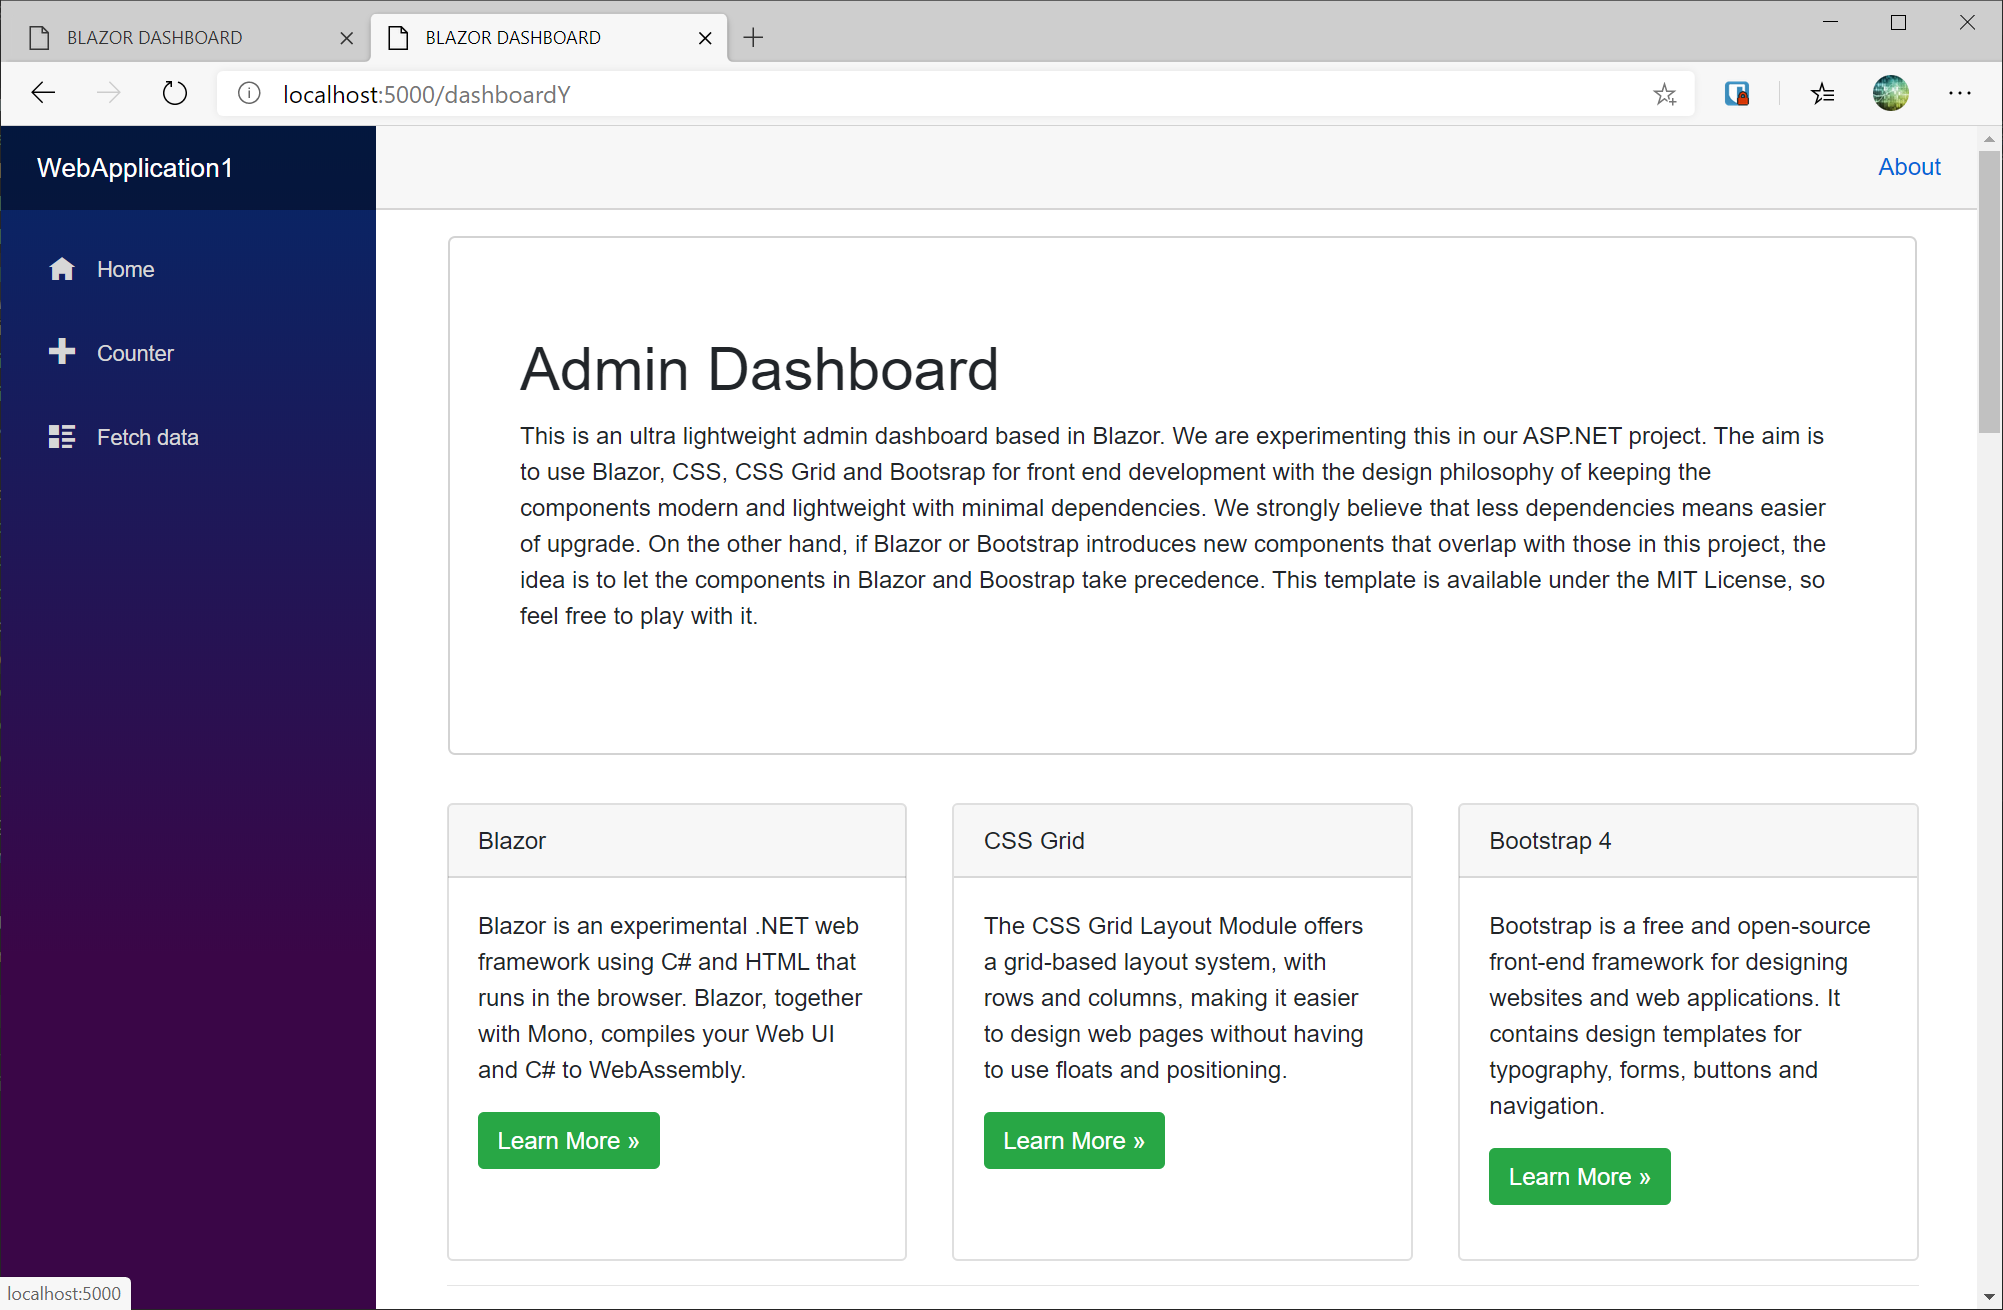
http://localhost:5000/dashboardY
To use Z :
Copy AppZ.razor to App.razor.
Copy indexZ.html to index.html.
dotnet run
http://localhost:5000/dashboardZ
Page Source | Issues | Content Date - 2/15/2020 | Language Vetting - "Assigned"
WebAssembly
Blazor Topics
- Blazor Hello World
- Blazor Components
- Blazor Dashboard
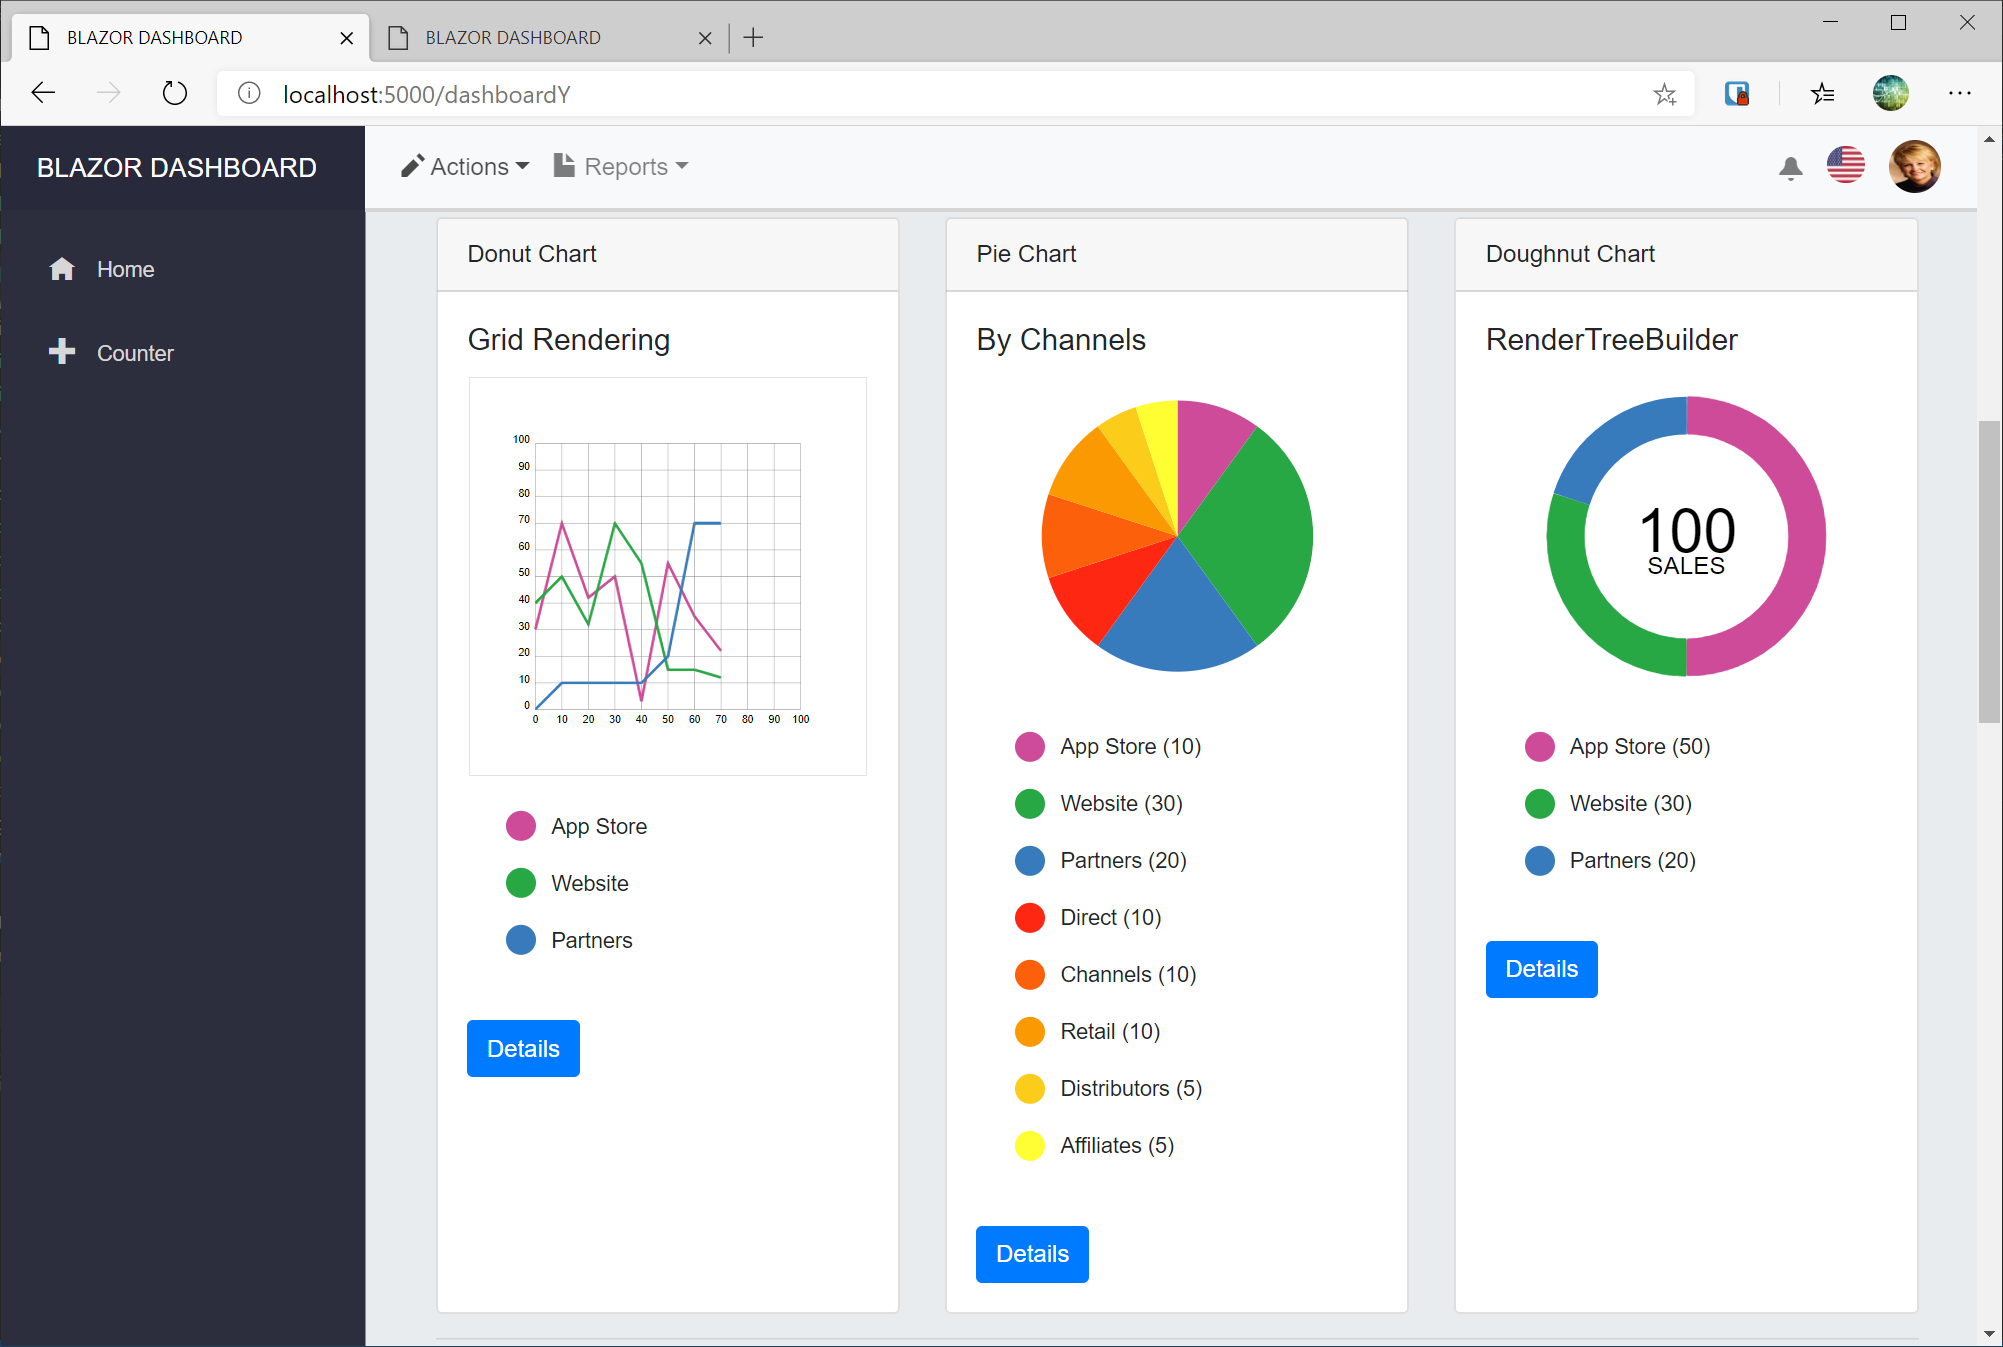
- Blazor Charts
- Blazor Donut Chart
- Blazor Pie Chart
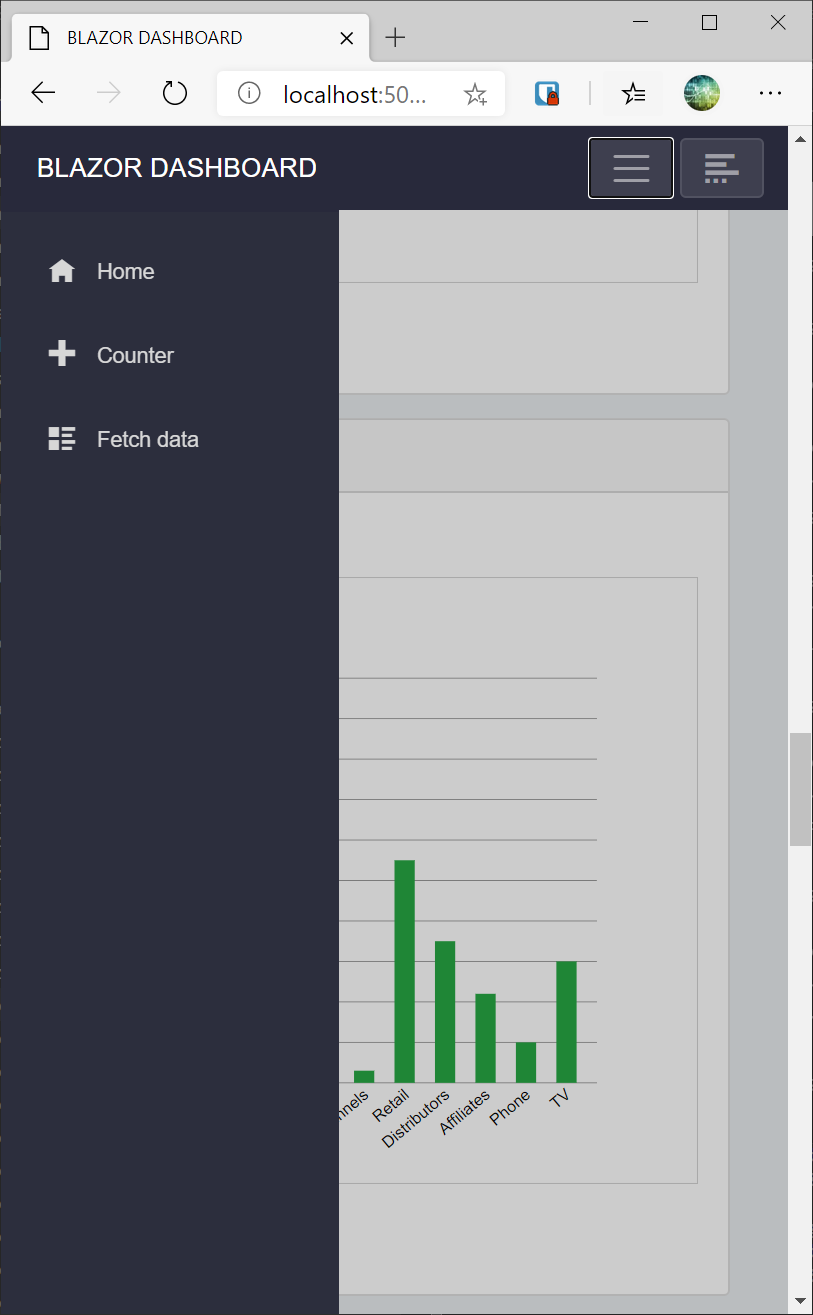
- Blazor Bar Chart
- Blazor Line Chart
- Blazor Data Binding
- Blazor Events
- Blazor Cascading Values & Parameters
- Blazor BuildRenderTree
- Injection (coming soon)
- Layout (coming soon)